Project Process
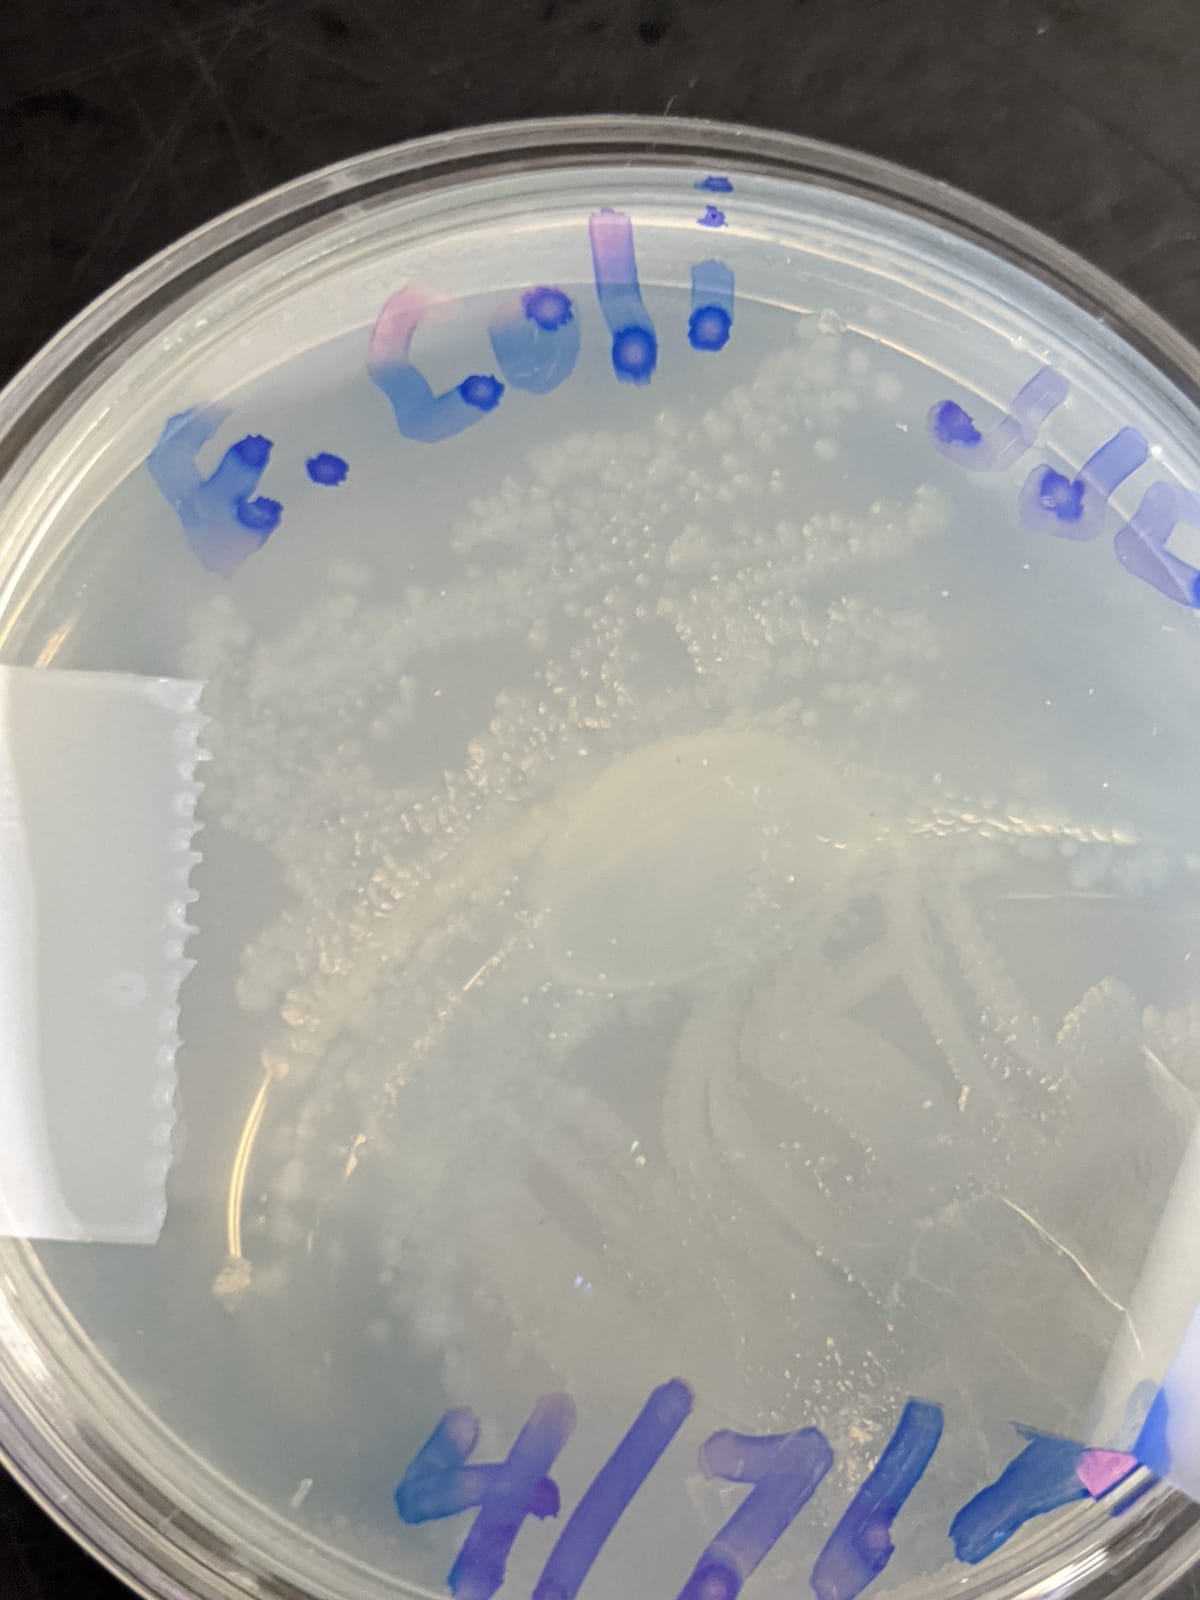
Culturing Our E-Coli
We received the Neutralized E.Coli and swabbed it on an agar coated Petri dish which we then proceeded to incubate for about a day. After the time was up we went to the incubator and got our E-Coli culture which we observed under a microscope to see how it looked. After examining it we noticed some bacterial growth then took a couple pictures, which are posted here before returning our E-Coli Culture to the incubator to be looked at again in about two weeks or so
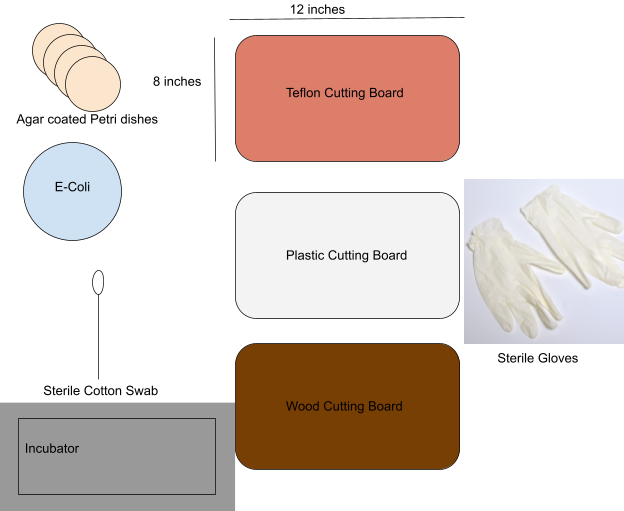
Scientific Apparatus
This is our scientific Apparatus
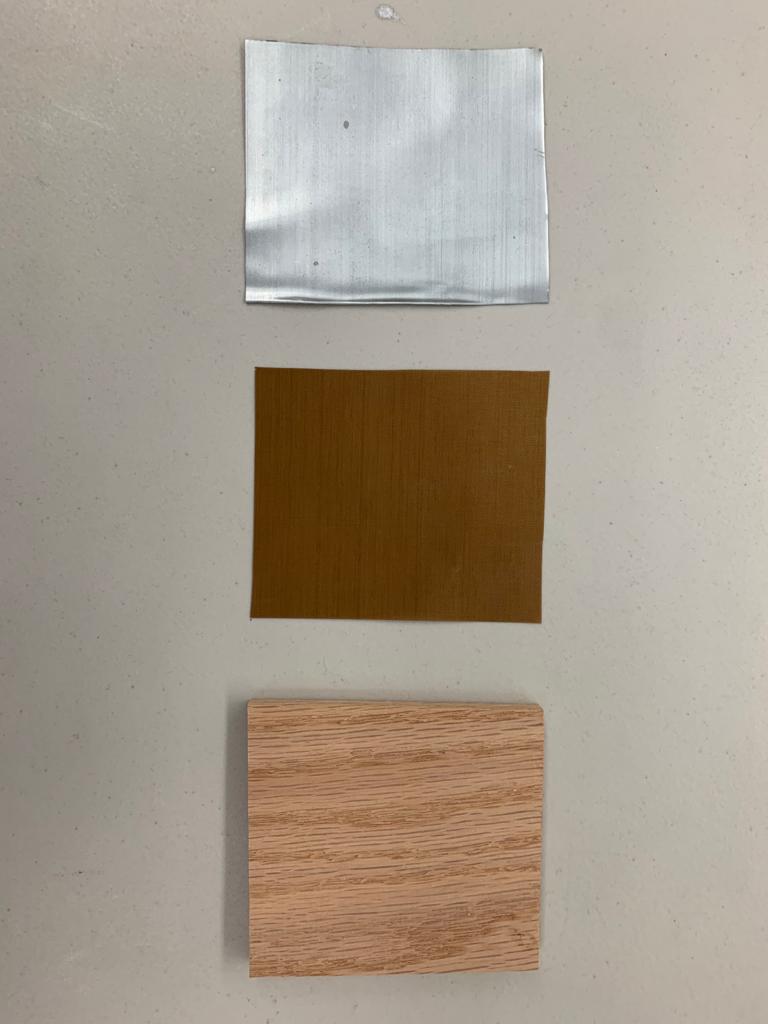
The Materials
The three materials we will be testing with bacteria are shown here, we cut them during class to make sure they fit properly into our 6" petri dishes. From top to bottom we have zinc, teflon, and wood.

Project value synthesis
Here is a synthesis of our work that didn't have it's own post on Launchpad. We are proud of the efforts and dedication of our team, and we believe no work should go unaccounted for. From market researchers to scientists, our combined efforts have lead to a strong team and strong product.
Attachments
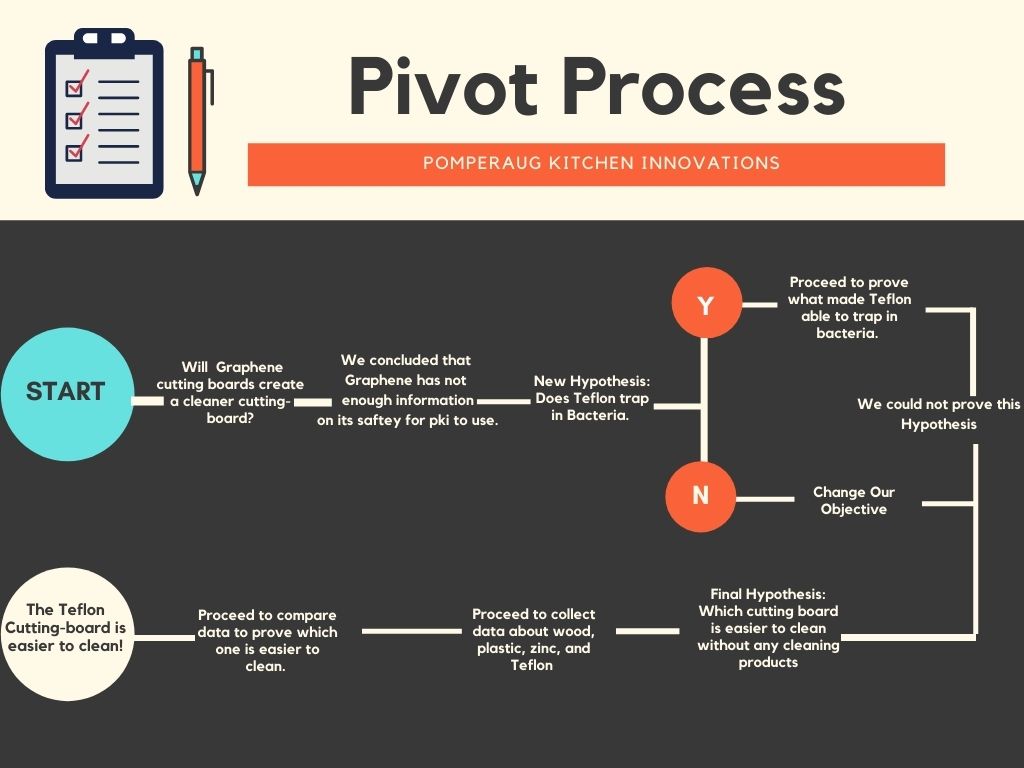
Pivot Process
This info-graphic shows how we changed our objective from how to prove Teflon traps bacteria to which cutting board is the easiest to clean with simply a damp towel.
Attachments
Design prototype
CAD prototype of our cutting board, including a plastic core, teflon cutting surface, and rubber ends for holding and hanging. The teflon outer shell improves the cutting board by trapping bacteria, without hindering the effectiveness of the cutting board in any way.
Attachments
Culturing Bacteria
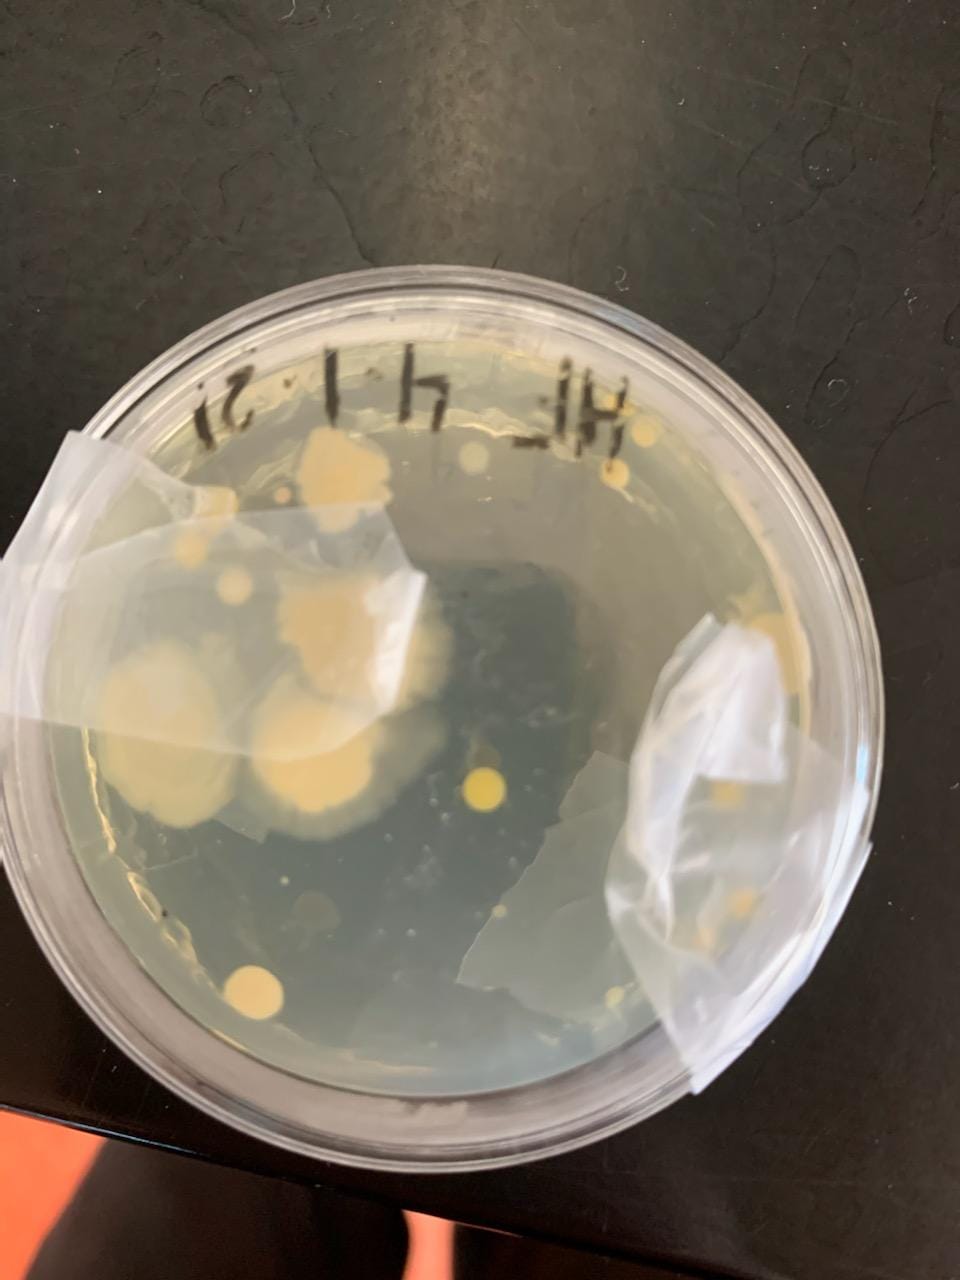
In our biology class our teacher Mr.Connelly taught us how to culture bacteria over one hour long class periods a few days apart to let the bacterias culture, and had us swab something we touch often, such as a device. We started this process by washing our hands, putting on gloves, and getting our petri dishes and swabs. We then opened the swab and wiped it on the item we chose to test for 15-20 seconds, then swabbed the agar in the petri dish in a zigzag pattern. We proceeded to tape it closed and write our initials/name and the date on the lid and placed our petri dish in an incubator for 4 days, then disposed of the gloves and washed our hands again.
We started the second class by washing our hands and putting on powder free vinyl gloves. We each got out our microscopes and set them up on the back counter. After, we all got our bacteria back and carefully placed the petri dishes onto the glass and turned on the lights. After being shown how to adjust the microscope, we all viewed the bacteria that had grown. We proceeded to take pictures of the normal petri dish and what it looked like under the microscope and followed clean up procedures

